
Electrical Planning Tips for Your Next Renovation Project
The best time to decide where outlets, lights and circuits go is before the walls close. Once the drywall is up, every change means cutting and patching. This guide covers what to plan, roughly in the order an electrician works through it, and the mistakes that are hardest to undo later.
Start With What the House Can Carry
Every new circuit draws on the same panel, so the first question is whether there is room for what the renovation adds. A new kitchen with an electric range, a finished basement with a home office, or central air can be more than an older panel was sized for. An electrician works this out with a load calculation: what the house uses today, plus everything you plan to add. If the numbers are tight, our 100 amp vs 200 amp comparison lists renovating or finishing a basement among the reasons to move up to 200 amps. Doing the upgrade as part of the renovation means the new circuits have room from the first day.
Put Outlets Where You Will Use Them
Walk through the room as it will be used once it is finished. Where will the television hang, where does the desk go, and where will phones and laptops charge? If the room already runs on power bars and extension cords, it needs more receptacles, and possibly a circuit of its own.
Bedside tables, desks and kitchen counters are good spots for receptacles with built-in USB ports, which our guide to USB outlets and smart receptacles covers. New receptacles in a renovation are tamper-resistant, and the ones near a sink get ground fault circuit interrupter (GFCI) protection.
Plan the Lighting in Layers
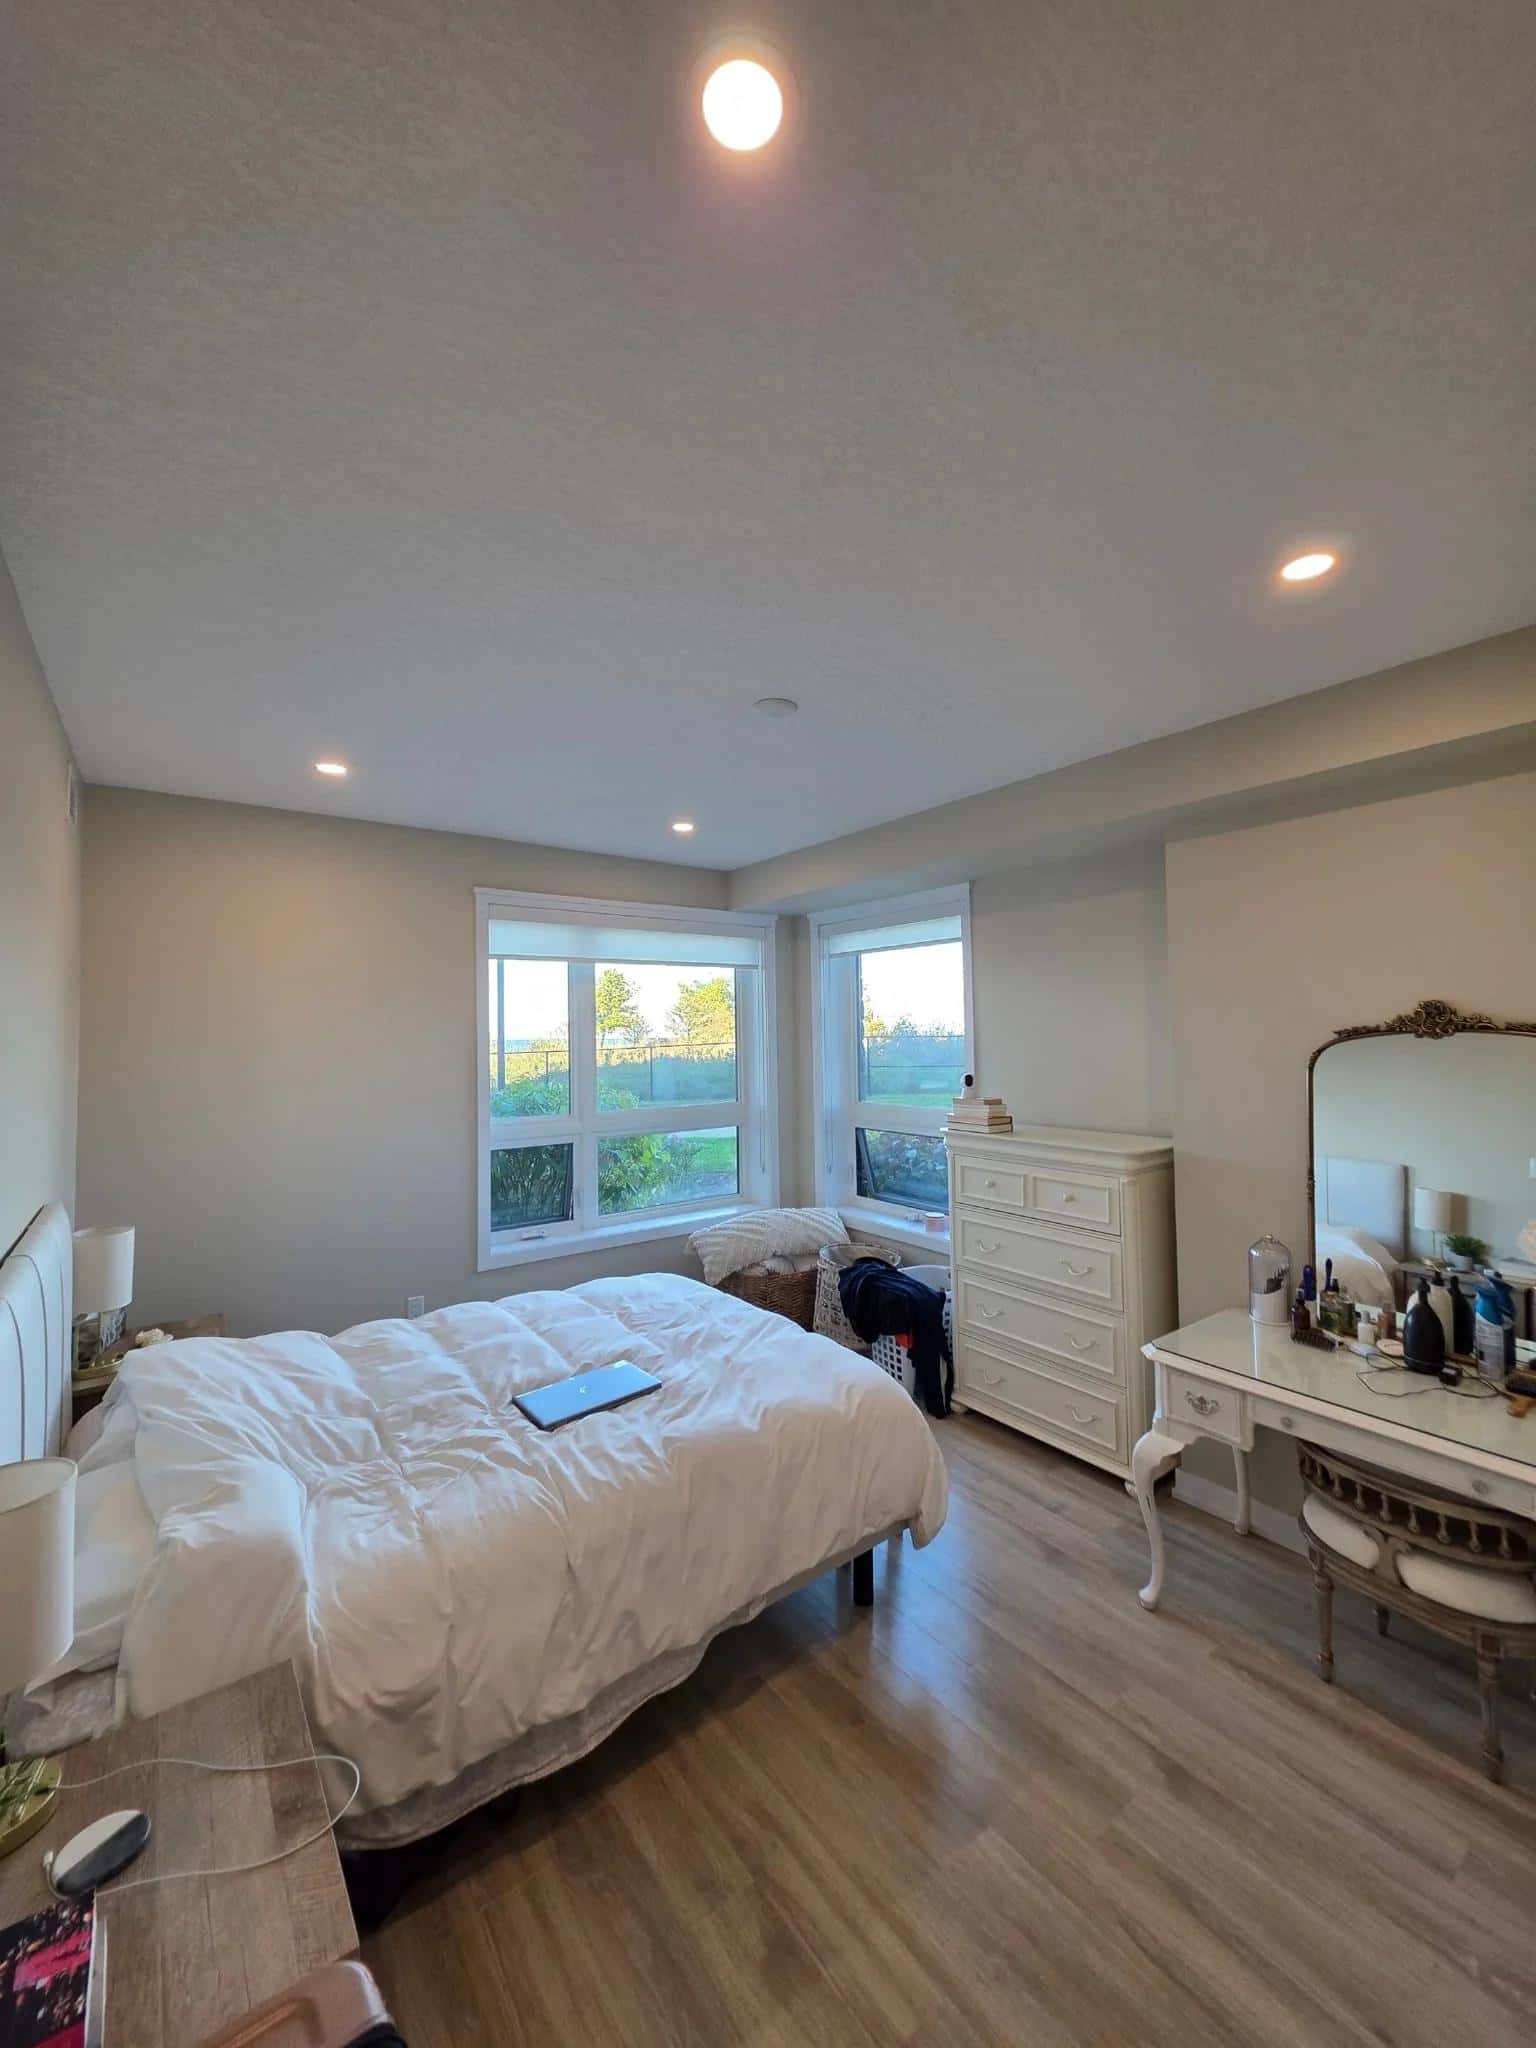
Most rooms need more than one kind of light. Pot lights give even general light, and task lighting goes where you work, such as LED strips under the kitchen cabinets. A pendant over an island or a chandelier over a table needs a box and support rated for its weight, which is simple to place while the ceiling is open.
Put the lights on dimmers rated for LED loads. A dimmer built for incandescent bulbs is a common reason LED lights flicker or buzz. Our pot light guide covers spacing, colour temperature and the fixtures rated for insulated ceilings.
Leave Room for an EV Charger and Smart Controls
If an electric vehicle (EV) is likely in the next few years, plan its charger now. A Level 2 charger runs on its own 240 volt circuit, usually 40 or 50 amps, so it belongs in the load calculation with everything else. Running the cable toward the garage while a basement ceiling is open takes much less work than fishing it through finished walls later. Our EV charger installation service explains the rest of the job.
Smart dimmers and smart receptacles take the place of standard devices, so they are easy to add during the same work.
Rewire and Add Circuits While the Walls Are Open
Open walls give the electrician direct access to the old wiring. In an older home, opening a wall can expose knob and tube or aluminum wiring, which has to be dealt with before new work connects to it. Kitchens, bathrooms and laundry rooms usually get dedicated circuits for their heavy appliances, and those are simplest to run before the drywall goes up. New circuits have to meet the Ontario Electrical Safety Code: arc fault circuit interrupter (AFCI) protection in living areas, GFCI protection beside sinks, and tamper-resistant receptacles where they are required. Our lighting and renovation service handles this work from start to finish.
A Checklist Before the Walls Close
Before the drywall crew arrives, settle these with your electrician.
Receptacles along the kitchen counters and on every living room wall you will actually use.
Under-cabinet lighting, wired before the cabinets are hung.
Room in the panel for the new circuits, or a plan for an upgrade or a sub-panel.
A route and a circuit for an EV charger, if one is coming.
Hardwired smoke and carbon monoxide alarms, since the cable is easiest to run now.
Permits and the ESA Inspection
Most renovations need an electrical permit, which in Ontario means a notification of work sent to the Electrical Safety Authority (ESA) before the job begins. ESA inspects the rough-in before the walls are closed and the finished work at the end. On the renovation work we do, the permit and the inspection are ours to arrange. When ESA has passed the work, it issues a Certificate of Acceptance, a document worth keeping with the house papers.
Renovation Mistakes to Avoid
Each of these is easy to prevent at the planning stage and harder to put right afterwards.
Deciding where outlets go after the drywall is up, when every addition means opening a finished wall.
Putting a heavy appliance on a shared circuit instead of one of its own, which leads to breakers that trip.
Adding circuits without checking whether the panel can carry them.
Skipping the permit, which leaves no record of the work and no certificate to show an insurer or a buyer.
Choosing dimmers that are not rated for LED loads.
Related Articles
• Electrical for Your Basement Renovation
• Electrical Planning for Renovations in Grimsby
• LED Pot Light Installation: Transform Your Hamilton Home Room by Room
Our licensed electricians are ready to help. Same-day response, flat-rate pricing, lifetime warranty.
Learn More about Lighting & Renovation →Free Estimate
Flat-Rate Pricing. No Surprises. Same-Day Response.
Call Us
(289) 210-5221Service Area
Hamilton, Niagara & Southern Ontario
Hours
Open 24 hours, 7 days a week
Our Promise
Satisfaction Guaranteed or We Come Back Free